

This was one of my favorite gift projects we’ve done in the classroom. The ornaments turned out beautifully! And to top it off, we used recycled paper we’d been collecting in the classroom as the main “ingredient” of our craft.
-
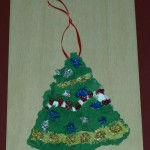
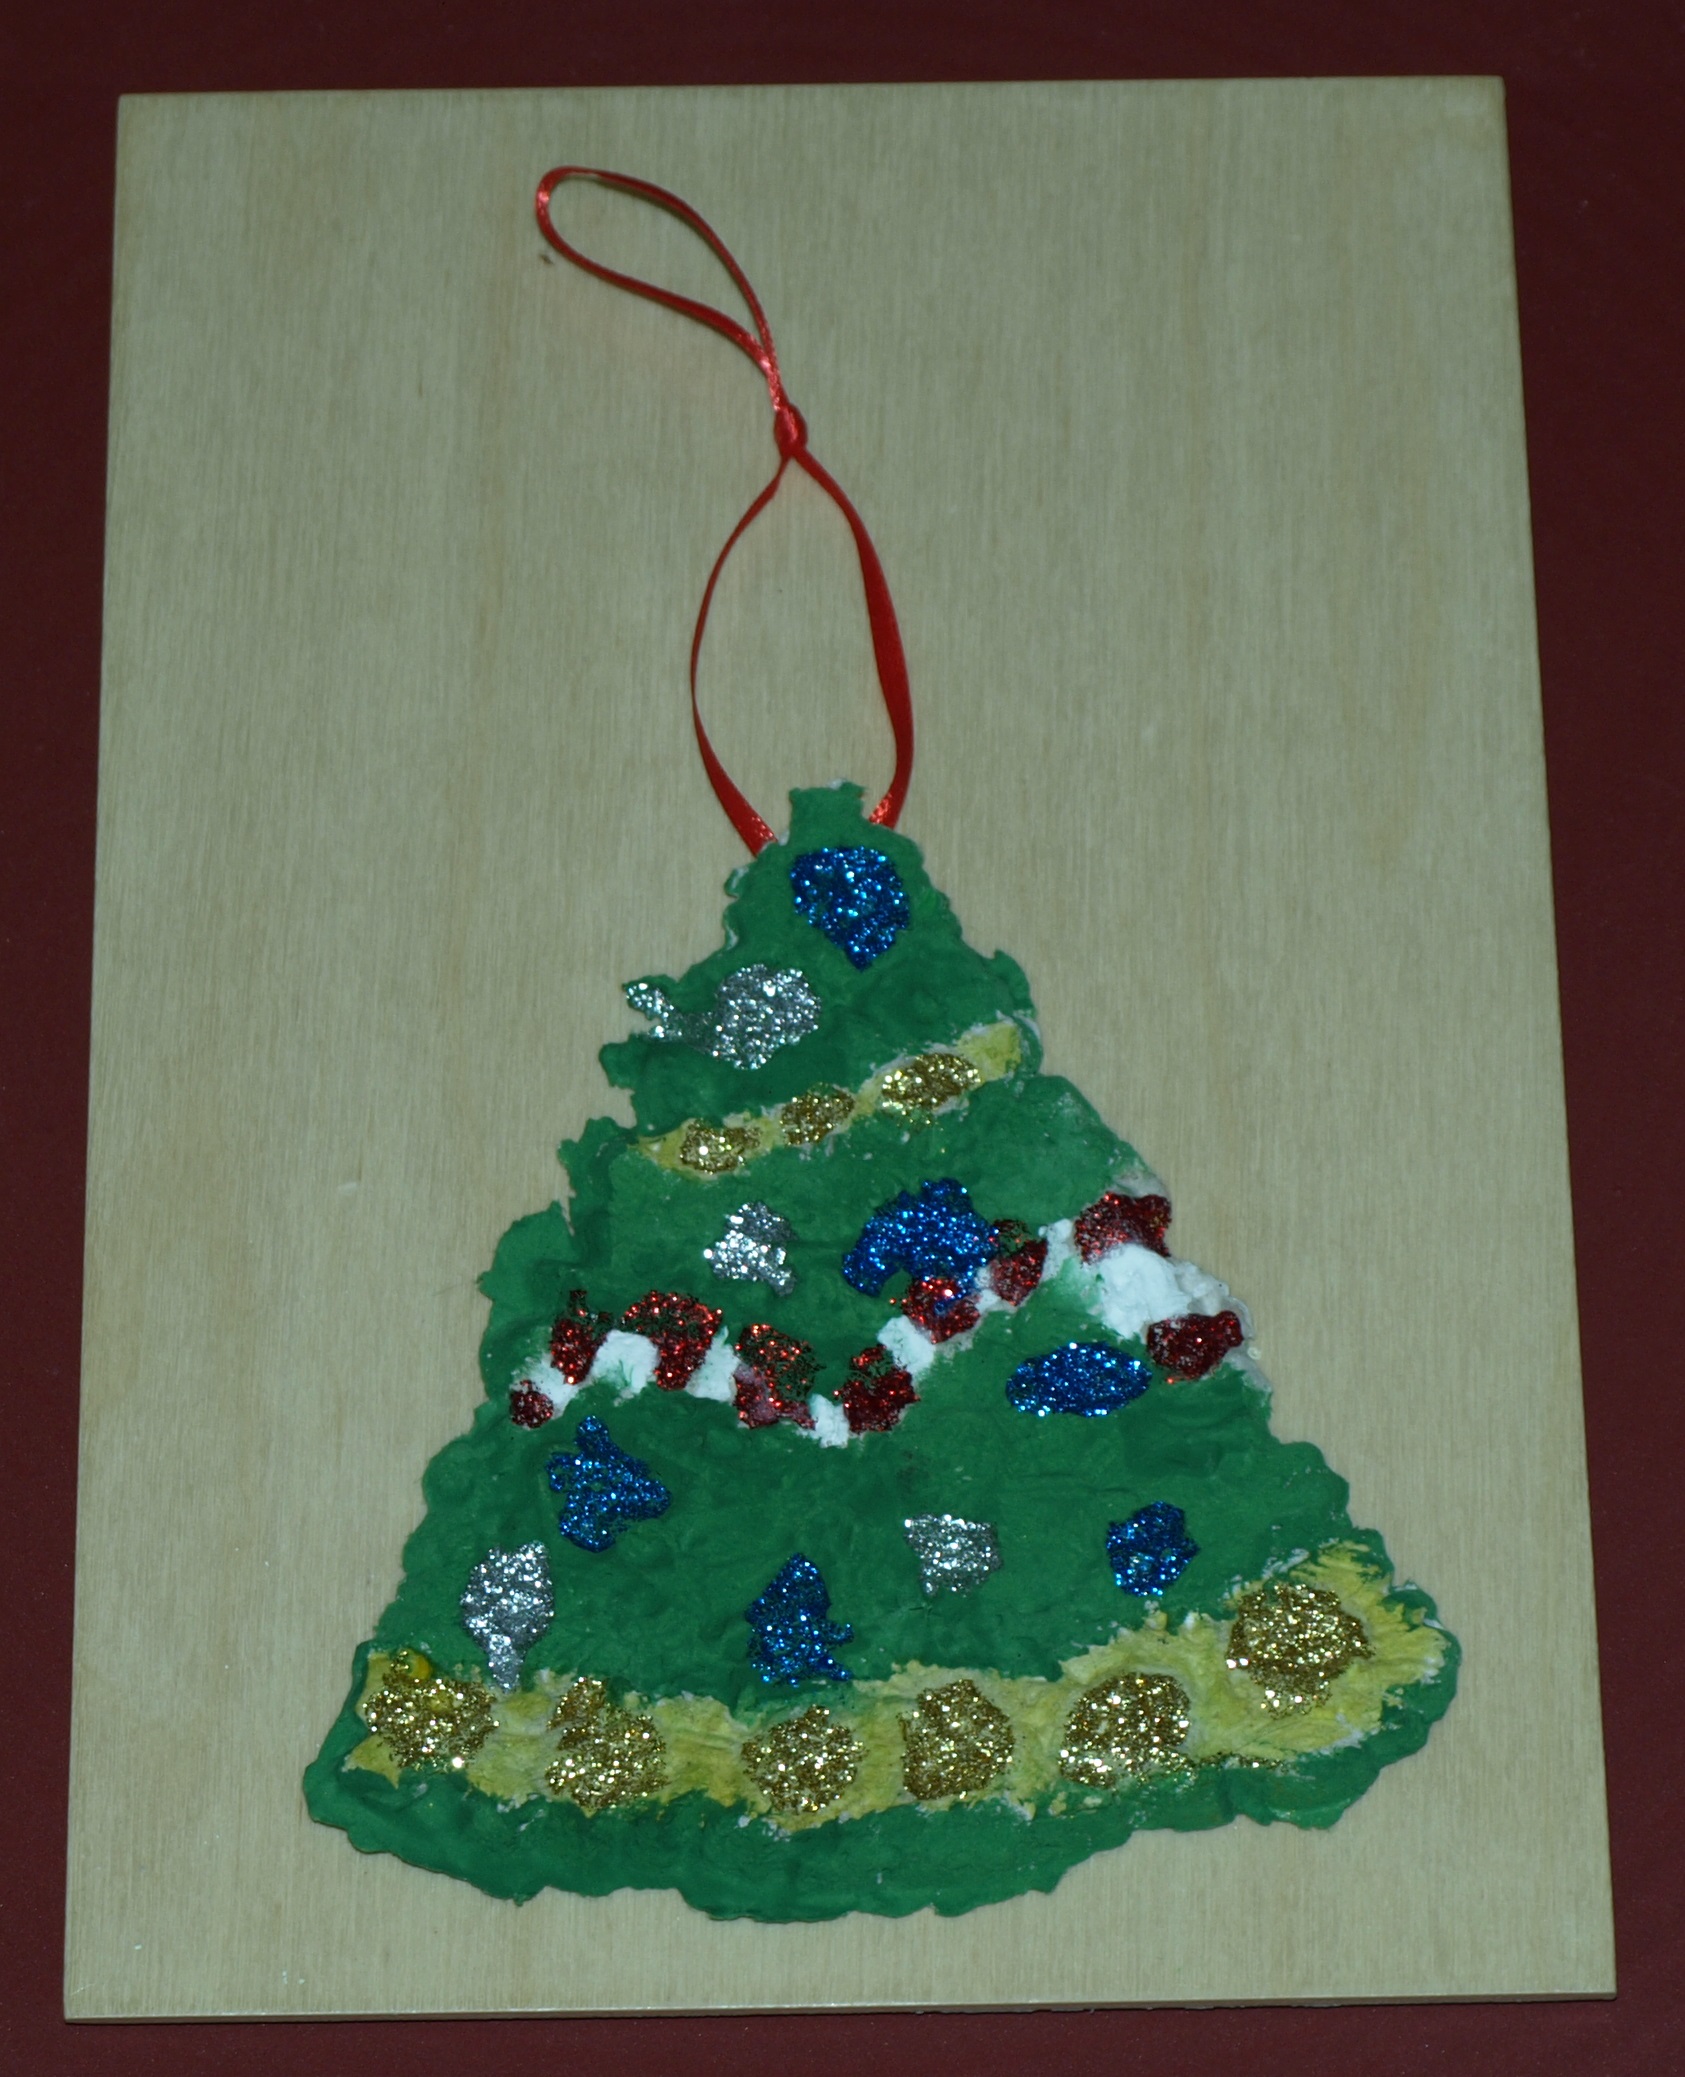
Recycled paper ornament
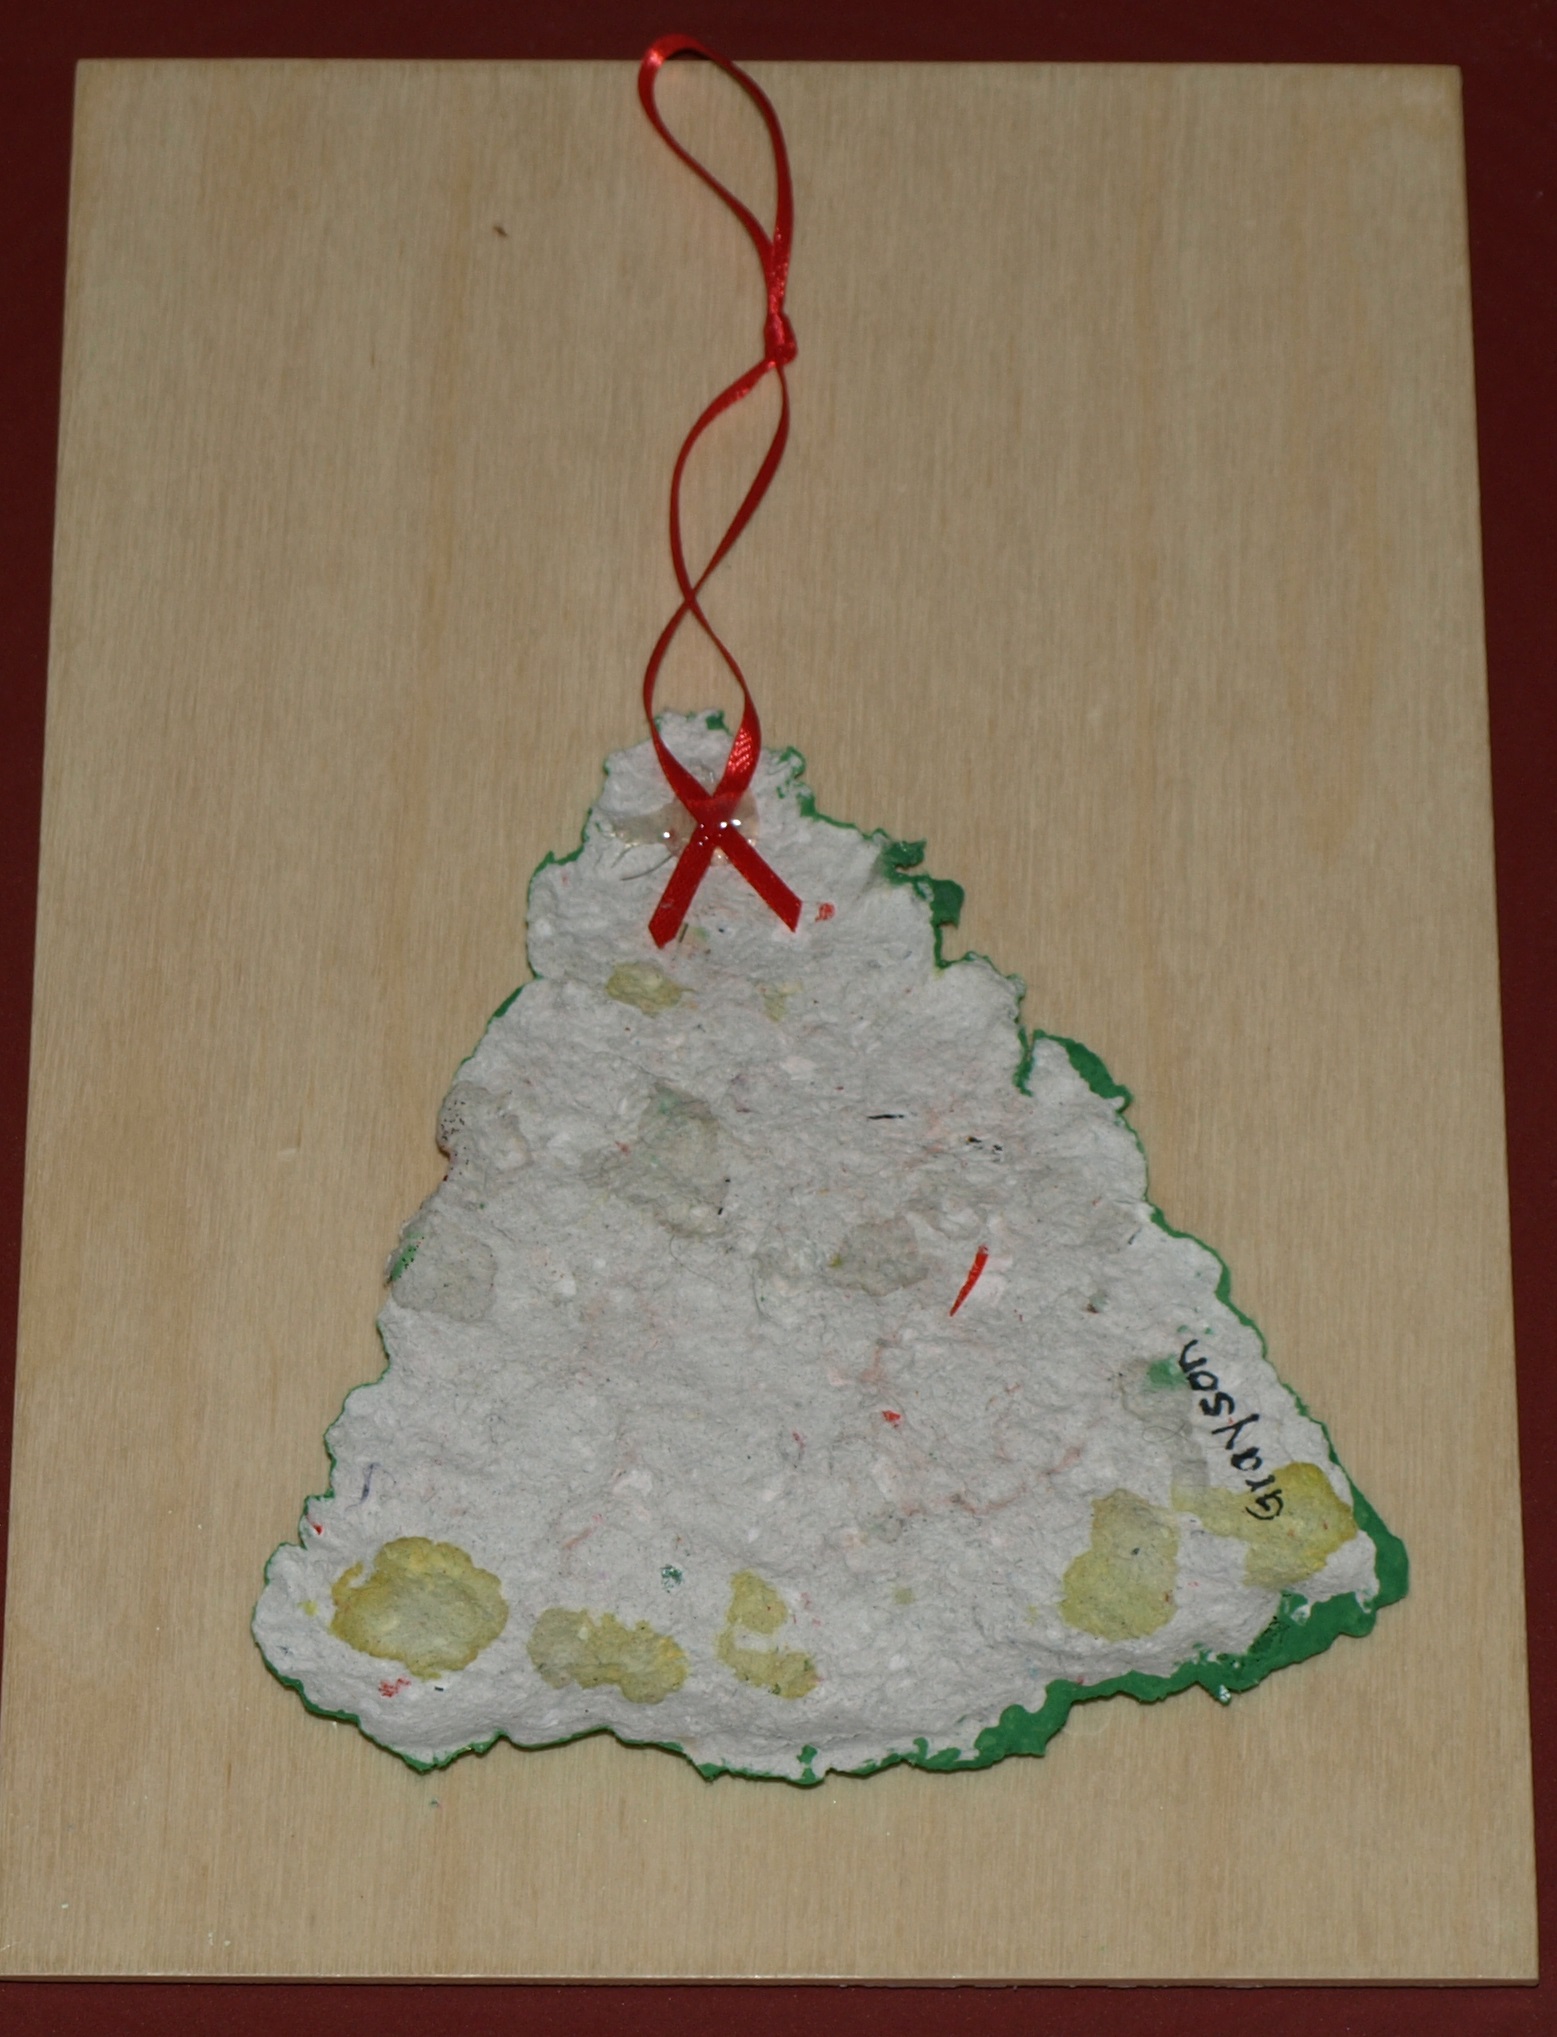
Unpainted recycled paper ornament – back
Here’s what you’ll need:
- recycled paper
- clay cookie mold(s) (such as this)
- blender (one you don’t mind blending paper in)
- cooking spray
- large bowl
- sponge
- acrylic or tempera paints
- glitter glue (optional)
- paintbrush
- ribbon
- glue gun (optional)
Directions:
- Gather the recycled paper and either shred it or cut/tear it into long strips (you may want to do this ahead of time).
- Spray the mold(s) with cooking spray. Set the molds aside.
- Take a big handful of shredded paper and drop it in the blender.
- Fill the blender about 1/3 – 1/2 full with warm water.
- Blend until the pieces of paper are no longer visible and a watery pulp has been created.
- Pour the pulp into the bowl.
- Reach into the bowl and grab a handful of pulp, allowing the water to drip back into the bowl.
- Place the pulp in the mold and continuing doing so until there is a heaping mound of pulp in the mold.
- Take the sponge and gently place it over the mound of pulp, absorbing water from the pulp.
- Squeeze the water from the sponge back into the bowl or into a sink.
- Continue sponging the pulp in the mold until the pulp is pressed into a thin layer in the mold.
- Allow the mold to dry several hours.
- When dry, gently release the ornament from the mold.
- Use a pencil to make a hole in the top of the ornament in order to hang it. *Skip this step if you have a glue gun.
- Decorate the ornament with paint and glitter glue as desired.
- Place a ribbon through the hole and tie in a knot to hang the ornament.
*If using a glue gun, place a drop of hot glue on the back side of the ornament near the top and place the ends of the ribbon, crossing over each other, in the glue (see photo below).
Need other homemade holiday gift ideas? What is your favorite homemade gift that you’ve either made or received?
Pingback: Homemade holiday gifts | Virtually Montessori