
To encourage the independence and sense of responsibility in our students, in each Montessori classroom I’ve worked in we’ve used job charts. These clearly identify the classroom jobs that are completed each day, usually right before going home. I want to share a few varieties of job charts that I’ve either used or seen used in lower and elementary classrooms with you here.
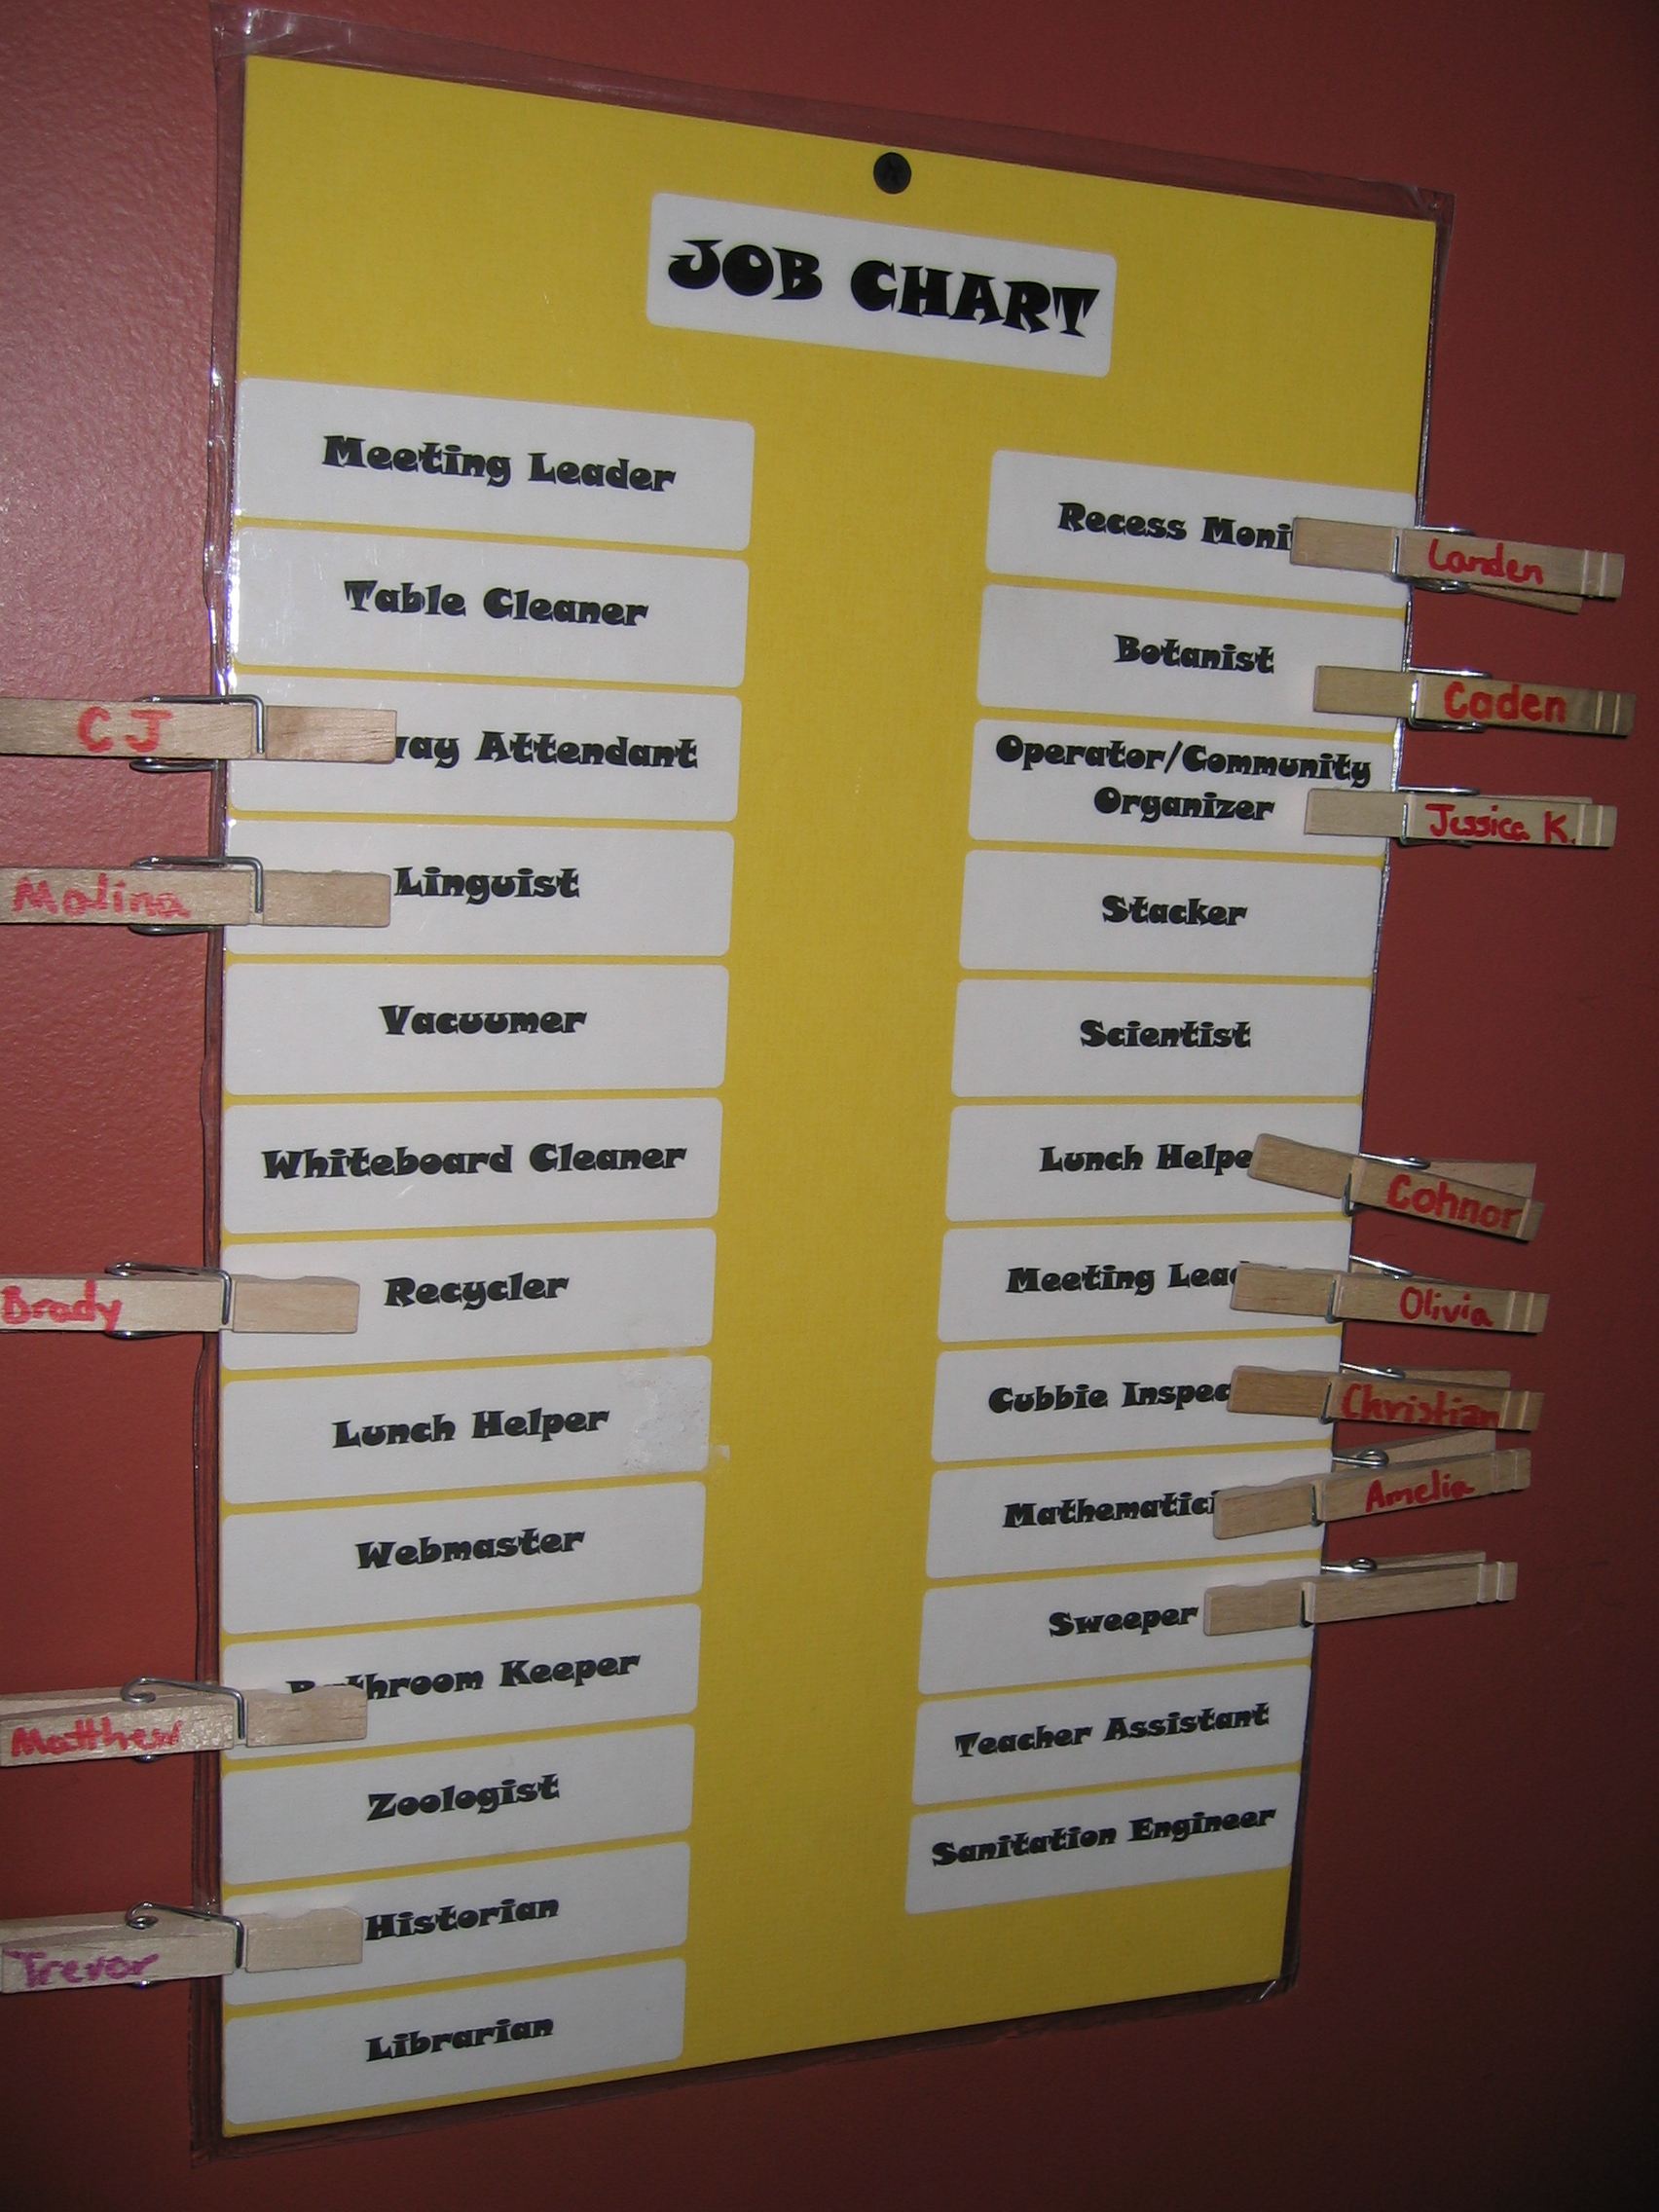
The most common form of chart I’ve seen is a simple table created in Word, usually mounted on card stock, then laminated. The children’s names are written on the clothespins with Sharpie, which makes rotating the names among the job titles quite easy. In fact, we had a student change the names each week as part of one of our classroom jobs!
Simple job chart for an Upper Elementary class. Using clothespins with children’s names on them as markers for each job.
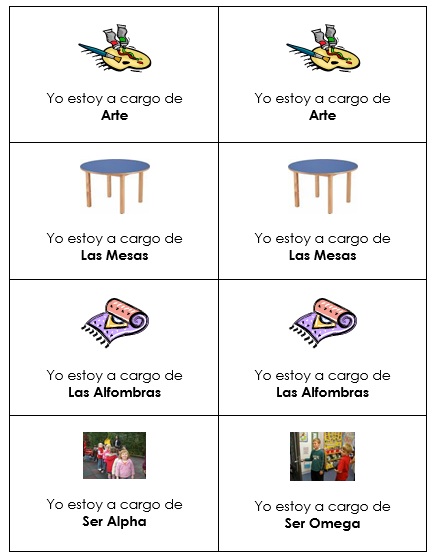
This is one page of a job chart that was used in a Spanish immersion Lower Elementary class. We also used clothespins with students names on them with this.
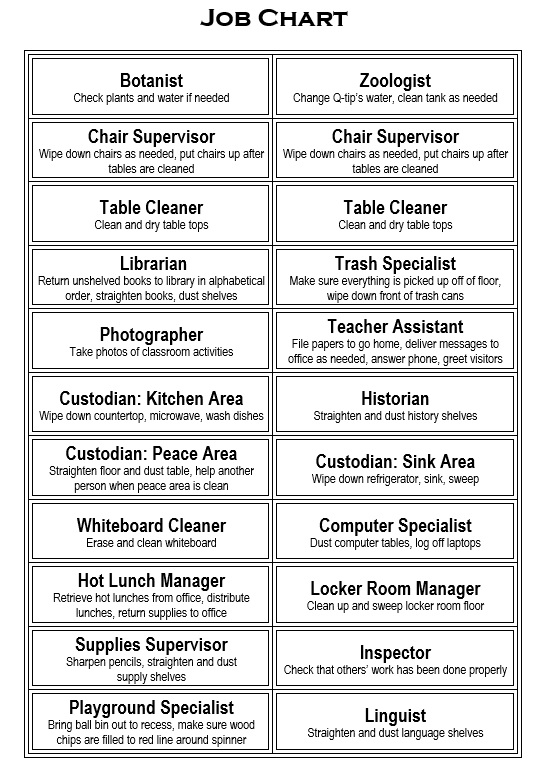
The following example has the job title with a simple description underneath. This was a revised version I made after my first year in Upper Elementary. The students seem to keep asking what exactly they were responsible for, so when the question came up, they were referred to the chart. If they still had questions after checking the chart, of course we were happy to answer them.
This is a job chart that we used in an Upper Elementary classroom. Again, clothespins were used with student names to mark job assignments. This document was mounted on card stock, laminated, and hung in the classroom.
Another example I recently came across in a Lower Elementary room uses a pocket chart. the job titles are put into each pocket. Then a photo of each child is placed into the pocket in front of the job title. I love this idea! Unfortunately, there are no photos in my shot since I saw this during summer break!
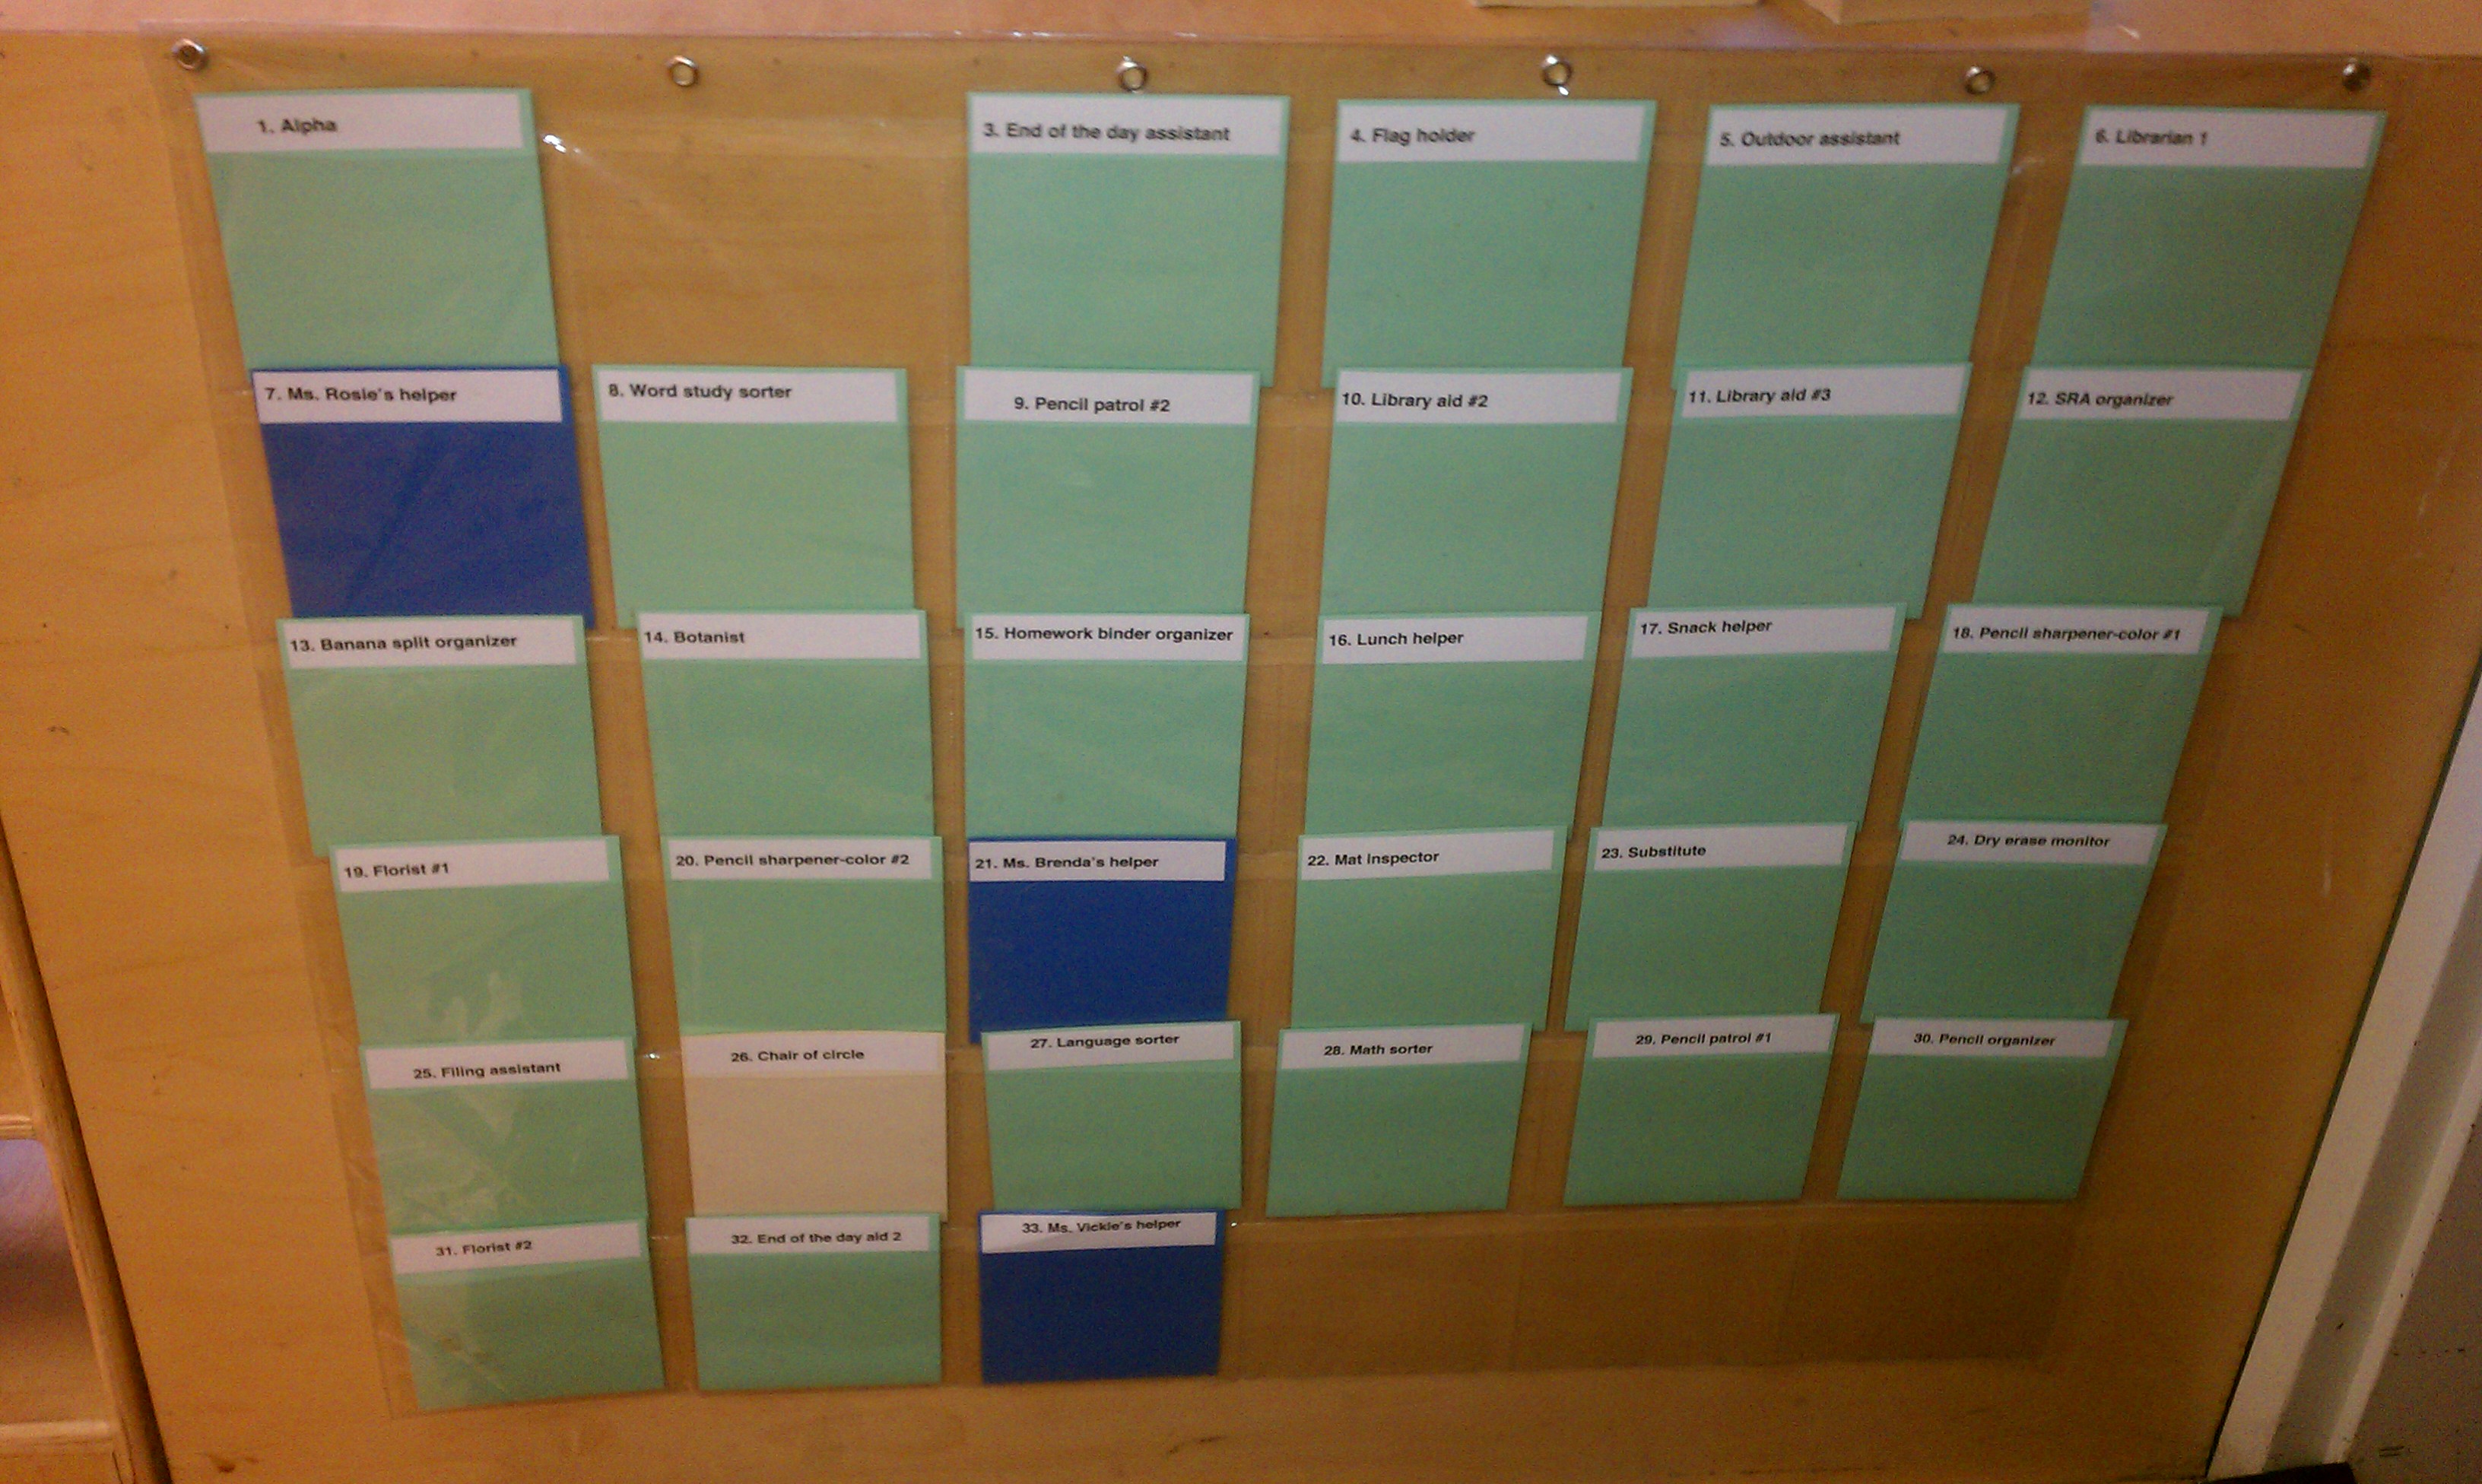
This is great for Lower Elementary. Place a photos of a child into a slot with a job title. Make sure there are enough jobs so that everyone has a job each week. (Oops – looks like job #2 is currently missing!)
We’ve always introduced the classroom job chart to the class as a group during the first week of school. We discuss what each job is, where it is performed, what supplies might be needed, and how the rotation of the jobs works each week. Immediately following we usually do a practice run of cleaning time. This seems to work pretty well!